Super Sonic guitar build - Part 9
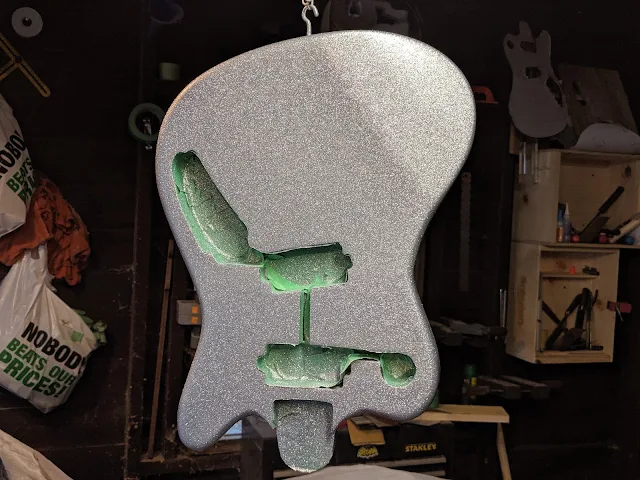
First coat of glitter! It is like fabulous camouflage. It is hiding everything. You can see on the tae that the glitter coats didn't really add much color just sparkle.
 |
| Krylon Glitter Blast Silver |
 |
| Adding some clear and it looks great. I picked photos that do not show the big run in the clear too much. |
 |
| Little bit of run in the clear |
 |
| Time to sand from 220 grit to 6000 grit |
 |
| Sanding out the runs |
 |
| looks amazing |
 |
| Bought a piece of stainless steel and used my jigsaw upside down to cut it. This was very difficult. |
 |
| Some basic sanding and filing. |
 |
| Sanded the heck out of it to get all the marks out and drilled the holes. |
 |
| I bought the one on the right to use as a reference. The one on the left is my first try. Too big. |
 |
| All polished up. Looks pretty pro. |
 |
| Tried to cut a pickguard from a template. |
 |
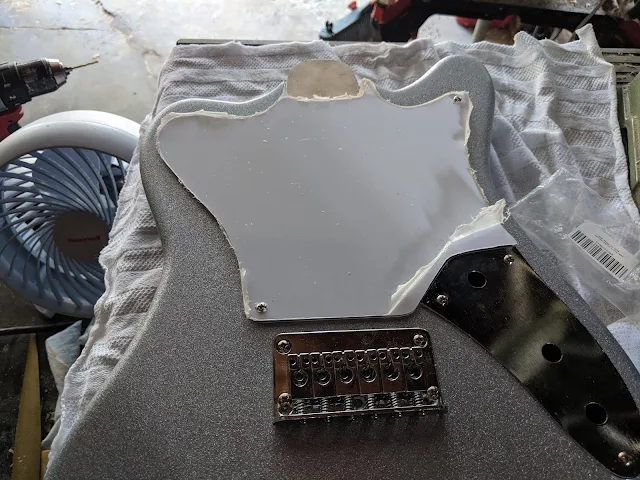
| Pickguard cut out from a template I made. It needed to be cleaned up a bit. I added two screws to register it to the body. Not sure how to cut out the pickups. |
 |
| First one done. You can see where I drilled a pilot hole and used a O-ring puller pick to scratch the underside of the cavity to use as a reference. |
 |
| Again, couldn't figure out how to bevel the edge so I used the sander again. This also worked really well. |
 |
| Test fit. I also copper shielded the routed body. I ended up having to take it all to widen all the cut outs. |
 |
| Test fitting the bushings. Used a drill press to push with the screwdriver. Not sure how else to do this. |
 |
| Vintage style Fender tuners like the original. |
 |
| Sprayed the neck with aged clear from StewMac. Looks sooo good. |
 |
| Bought some custom headstock decals from Etsy. These came out great. |
 |
| This was harder than I thought with the curve. The edges came up a bit. |
 |
| I had to spray a ton of clear on it to hide the decale edges |
 |
| Copper lined the cavities because why not |


Comments
Post a Comment